Net a Fish Controls and Hotkeys
Every essential bind for casting, interacting, and managing your dock quickly.
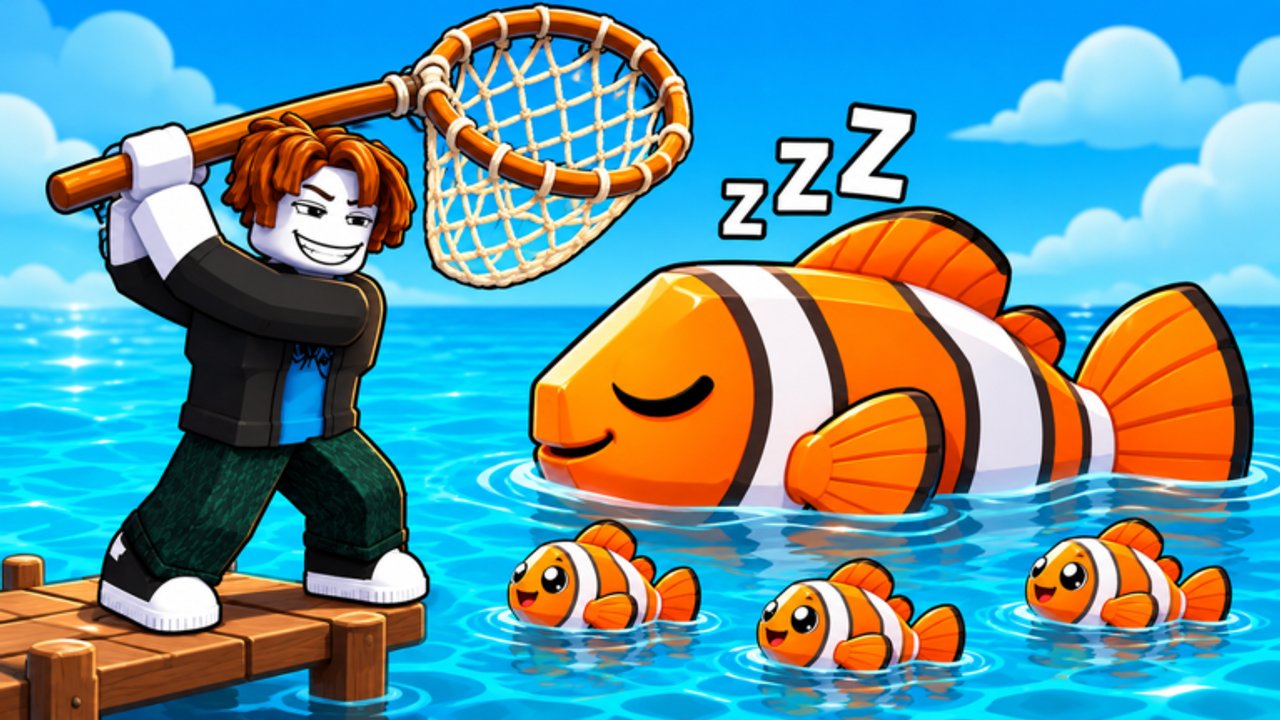
Clean inputs make Net a Fish feel smooth. Missed throws during Wave Rush or fumbling the Codes menu after your first catch costs real progress. This controls guide lists the core keyboard actions, explains how casting and reeling work near water, and shows which UI panels you should open without thinking during upgrades, fusion, and events.
Core movement and interaction
| Action | Default control | Notes |
|---|---|---|
| Move | WASD | Standard Roblox locomotion on the dock and shore |
| Jump | Space | Clear low obstacles and boat edges |
| Interact | E | Talk to stations, open world prompts, confirm some dock actions |
| Throw net | C or Throw Net control | Must be near water; watch the on-screen prompt |
If a bind does not respond, click back into the Roblox window, check that a chat box is not focused, and confirm you are close enough to the waterline for fishing actions. Mobile players use on-screen buttons for the same actions; the logic is identical even when the labels differ.
Casting and reeling well
Walk to the river or ocean edge until the throw prompt appears. Press the throw-net control to deploy. The net fills as fish enter. For denser hauls, wait until the meter is nearly full before reeling—community tips often mention waiting for values such as 130/131 style fills when capacity is high. Reeling early wastes potential catches; waiting forever during a Wave Rush final wave can also waste the multiplier if the timer ends, so learn the rhythm for your current net size.
When a fish escapes with a floating requirement such as “Needs Titanium Net,” that is not a control failure. Your net rarity cap is too low. Fix it in the Upgrades guide, then return to casting.
Auto Throw game passes repeat casts while you remain in range, which helps during long Events windows. Manual play still matters when you need to reposition or open menus mid-session. Pass details live on game passes.
Menus you will open constantly
Fish Cooler / Showcase — Place best fish into the pool for cash per second. Use Equip Best after big hauls. Fuse duplicates here as described in Fusion.
Upgrades — Nets, Fishing, and Market tabs. Buy Cotton Net early, Titanium for Legendary, Mythril for Mythic.
Rebirth — Check fish and cash meters before spending. Confirm only when both gates are met; see Rebirth.
Codes — Unlocks after your first catch. Open settings or the Codes button path used in your client build, paste codes exactly, redeem. Keep the Codes list nearby.
Crates / Pets — Hatch Ocean and Abyss Crates, equip pets, manage slots. Full system notes in Pets and Crates.
Traits — Appears after Storm Chaser (Rebirth 7). Roll and equip from the HUD button when it unlocks.
Learn the shortest click path to cooler, upgrades, and codes. During Gold Rush you want shopping to take seconds, not minutes.
Camera, chat, and focus tips
Keep the waterline and net meter visible. Zoom out during Wave Rush. Close chat while casting—chat focus is a common reason throws seem broken. On controllers, map throw and interact to easy buttons. For the first-hour economy loop after you know the binds, follow Getting Started.
Controls during events and bosses
When a TSUNAMI WARNING hits, stop walking the Market and return to the cast spot. Throw, fill, reel, repeat. Do not open fusion until the wave chain ends unless your inventory is full. For Lucky Tide and Shimmer Surge, the same cast loop applies with more attention to mutation and rarity tags on catch popups. Boss fights such as Megalodon or Kraken may add encounter-specific prompts; watch on-screen text and keep interact ready.
Crew Wars and multiplayer objectives still use the same movement set. Clear communication in chat helps, but never share account passwords or follow shady “free control script” links. If you want trusted automation discussion, use Scripts only as a reference list and stay within Roblox rules.
Quality-of-life binds and passes
You cannot buy a replacement for learning C and E, but passes reduce repetition: Auto Throw for casts, Auto Collect for showcase cash pickup, Auto Fuse for cooler recipes. Extra Showcase does not change keybinds; it adds slots you still manage in the cooler UI. After buying quality-of-life passes, re-practice the manual loop once so you can recover if a pass toggles off.
Quick reference checklist
- WASD move, Space jump, E interact, C throw net near water.
- Wait for a near-full net before reeling when capacity is high.
- First catch → open Codes → redeem everything active.
- Cooler → Equip Best → fuse duplicates → upgrades.
- On event warning → cancel menus → cast immediately.
- Before rebirth → verify meters → avoid accidental confirm.
Master these controls and every other guide becomes faster to execute. Pair this page with the tier list hub, fish rarity tier list, and pets tier list when choosing showcase fish after each reel. Check Updates if a patch remaps UI labels; core WASD and throw behavior rarely change.
With binds memorized, you focus on nets, fusion, and rebirth timing instead of hunting for the throw key while the best wave of the hour rolls past.
Frequently Asked Questions
Quick answers for Net a Fish players.
How do I throw the net in Net a Fish?
Stand near water and press C or the Throw Net control. Wait for the fill meter to rise, then reel in for the catch.
What does the E key do?
E is the interact key for dock stations, prompts, and many world interactions. Use it whenever an interact hint appears on screen.
Why is my throw net key not working?
Click into the game window, close chat focus, and move closer to the water until the throw prompt appears. Inventory or menu focus can also block casts.
When do codes become available?
After your first successful catch. Open the Codes UI, paste each code exactly, and redeem before spending early cash.
Do mobile controls differ from keyboard?
Mobile uses on-screen buttons for move, jump, interact, and throw, but the same fishing loop applies: approach water, throw, fill, reel, then manage the cooler.